Bringing a new baby home is an incredibly joyful experience, but it also comes with a steep learning curve. Amidst the late-night feedings and endless diaper changes, there is one grooming task that makes almost every new parent nervous: trimming those tiny, delicate fingernails. If you feel anxious about this task, you are not alone. It is incredibly common for parents to be terrified of accidentally clipping their baby’s delicate skin. However, knowing how to safely manage newborn baby nails is a crucial part of your infant’s hygiene and safety routine. In this comprehensive guide, we will break down the safest methods, the best tools, and expert-approved tips to help you master this essential parenting skill with confidence.
How to Cut Newborn Baby Nails: Safe Tips & Best Clippers
Learn how to cut newborn baby nails safely with simple tips, the best nail clippers to use, and expert advice to prevent scratches and keep your baby comfortable.
Dr.Kamran
Why Does Trimming Newborn Baby Nails Matter?
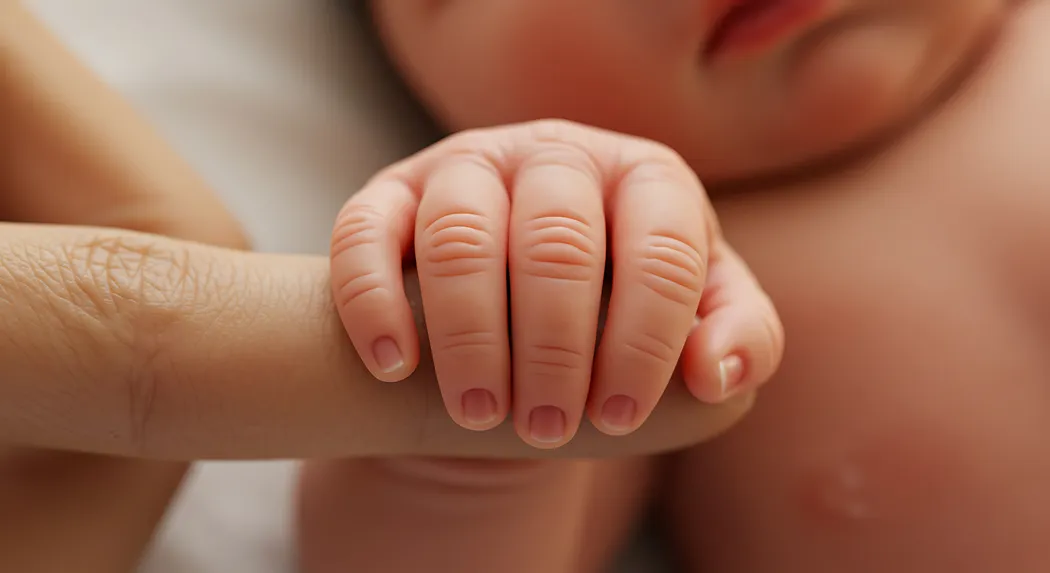
You might be surprised by how quickly your baby’s nails grow. While they may look incredibly soft and paper-thin, newborn baby nails can be surprisingly sharp. In the first few weeks of life, infants have very little control over their muscle movements. Their arms and hands often move in sudden, jerky motions due to natural newborn reflexes, such as the Moro (startle) reflex. Because their hands are frequently near their faces, babies with untrimmed nails can easily scratch their own cheeks, noses, and even their delicate eyes. Keeping your baby’s nails short and smooth prevents these accidental scratches. It also keeps dirt and bacteria from building up underneath the nail bed, protecting your baby from potential skin infections.
Essential Tools: Finding the Right Equipment
Before you begin, it is important to gather the right tools. Never use adult nail clippers on an infant, as they are far too large and significantly increase the risk of clipping the skin. Instead, you will want to choose baby-specific grooming tools. Here are the most common and safest options:
- Baby Emery Boards: In the first few weeks of life, a baby’s nails are so soft that you may not need to cut them at all. Simply filing them down gently with a soft emery board is the safest method.
- Baby Nail Scissors: Many paediatricians recommend baby scissors over clippers. They feature rounded, blunt tips to prevent accidental puncturing, and they allow you to clearly see the edge of the nail as you cut.
- A Specialised Newborn Nail Cutter: If you prefer the familiar feel of clippers, invest in a high-quality newborn nail cutter. These are specially designed with magnifying glasses, LED lights, or safety guards to prevent you from cutting too close to the skin.
- Electric Trimmers: For parents who are deeply anxious about sharp blades, a battery-operated newborn baby nail trimmer is a fantastic alternative. These devices use gentle, spinning filing pads that stop automatically if they touch the skin, making them practically foolproof.


Step-by-Step: How to Cut Nails of a Newborn Baby Safely
Timing, lighting, and technique are everything when it comes to infant grooming. If you are wondering exactly how to cut the nails of a newborn baby without tears or stress, follow this simple step-by-step guide.
Step 1: Choose the Perfect Time
The golden rule of trimming newborn baby nails is to do it when the baby is completely calm or asleep. The best times are usually right after a warm bath when the nails are softest, while they are deeply asleep, or while they are happily feeding.
Step 2: Ensure Excellent Lighting
Never try to trim your baby’s nails in a dimly lit room. Sit near a bright window with natural sunlight, or turn on a bright lamp directly over your shoulder. You need to be able to clearly distinguish where the nail ends and the fingertip begins.
Step 3: Hold the Hand and Finger Securely
Grasp your baby’s hand gently but firmly in one of yours. Isolate the specific finger you are working on. Hold it steady so that if your baby twitches, your hand moves with theirs, preventing accidental slips.
Step 4: Press the Fingertip Pad Away
This is the most critical safety step. Using your thumb, gently press the fleshy pad of your baby’s fingertip down and away from the nail. This creates a clear, safe gap between the nail and the skin, ensuring the blades only catch the nail.
Step 5: Clip with the Correct Shape
For Fingernails: Follow the natural curve of the finger, making small, gentle clips.
For Toenails: Cut straight across. Do not curve the edges of toenails, as this can lead to painful ingrown nails.
Step 6: Smooth the Edges
Once you have finished cutting, run your finger over the nail. If you feel any sharp corners or jagged edges, use a soft baby emery board to gently file them smooth.
What to Do If You Accidentally Cut the Skin?
Take a deep breath. Almost every parent accidentally nicks their baby’s finger at least once. Babies have rich blood supplies in their hands, so even a tiny cut can bleed more than you might expect, which can be alarming.
If this happens, stay calm and follow these steps:
- Apply Gentle Pressure: Take a clean piece of sterile gauze or a soft washcloth and hold it firmly against the cut for a few minutes.
- Wait for the Bleeding to Stop: The bleeding will usually stop on its own within five to ten minutes.
- Do Not Use Bandages: Never put an adhesive bandage or liquid bandage on a newborn's finger. Babies constantly put their hands in their mouths, and a bandage can easily become a severe choking hazard.
- Keep it Clean: Let the small nick heal naturally in the open air, and simply monitor it over the next few days for any signs of redness or swelling.
Dangerous Mistakes to Avoid
While learning the best techniques for managing newborn baby nails, it is equally important to know what not to do.
Never bite your baby’s nails. It might seem like an easy, tool-free way to keep nails short, but the human mouth is full of bacteria. Biting a baby's nails can easily introduce germs into broken skin, leading to painful infections like herpetic whitlow (a viral infection of the finger). Furthermore, biting can tear the nail down into the quick.
Never peel or tear the nails. Newborn nails are soft and can sometimes peel on their own. However, pulling or tearing a peeling nail can rip it down past the nail bed, causing significant pain and bleeding. Always use an emery board to smooth out peeling edges.
Helpful Hacks for Nervous Parents
If the task still feels overwhelming, try these proven parenting hacks to make the process smoother:
- Tag Team It: Ask your partner, a family member, or a friend to help. One person can hold the baby, sing a song, or offer a bottle while the other focuses solely on the clipping.
- Use Sensory Distractions: Older babies can be distracted by a colourful, light-up toy or a high-contrast video. For newborns, a white noise machine or soft singing can keep them calm.
- Utilise Mittens as a Temporary Fix: If your baby’s nails are sharp but they are entirely too fussy to safely trim them, slip a pair of soft, breathable cotton baby mittens over their hands. Baby socks also work in a pinch! This will protect their face until they fall asleep and you can safely attempt trimming again.
Conclusion
Keeping your newborn’s nails trimmed is a small but important part of daily baby care. Because newborn nails grow quickly and are very soft, they can easily scratch the baby’s delicate skin if not trimmed regularly. Learning how to cut newborn baby nails safely helps prevent accidental scratches while keeping your little one comfortable and protected. Using the right tools, such as specially designed baby nail clippers or scissors, can make the process easier and safer. Choosing a calm moment, like after a bath or when your baby is sleeping, can also help parents trim nails without causing stress for the baby. Gentle handling, good lighting, and patience are key to ensuring a smooth and safe nail-cutting routine. While it may feel intimidating at first, nail trimming quickly becomes a simple part of your baby’s grooming routine with practice. By following safe techniques and using the best baby nail clippers, parents can confidently care for their newborn’s tiny nails and help keep their skin healthy and scratch-free.


FAQS
FAQS
How often should I cut my baby's nails?
Newborn fingernails grow incredibly fast and typically need to be trimmed or filed once or twice a week. Toenails, however, grow much slower and usually only require trimming a couple of times a month.
Can I bite my newborn's nails to trim them?
No, medical professionals strongly advise against biting your baby’s nails. Biting introduces bacteria from your mouth into the baby’s skin, which can cause serious infections. It also makes it easy to accidentally tear the nail too short.
When is the best time to cut baby nails?
The absolute best time to trim your baby’s nails is when they are fast asleep. Alternatively, immediately after a bath is ideal because the warm water softens the nails, making them much easier to file or clip.
Are electric nail trimmers safe for newborns?
Yes. A battery-operated baby nail trimmer is often considered one of the safest options for newborns. They use spinning, soft emery pads that gently file the nail down and are designed to stop moving if they come into contact with the baby's skin.
Should I put mittens on my baby to prevent scratching?
Mittens are great for temporary use in the first few weeks, especially while sleeping. However, paediatricians recommend giving your baby plenty of "mitten-free" time during their waking hours so they can explore the world, self-soothe by bringing their hands to their mouth, and develop important fine motor skills.


